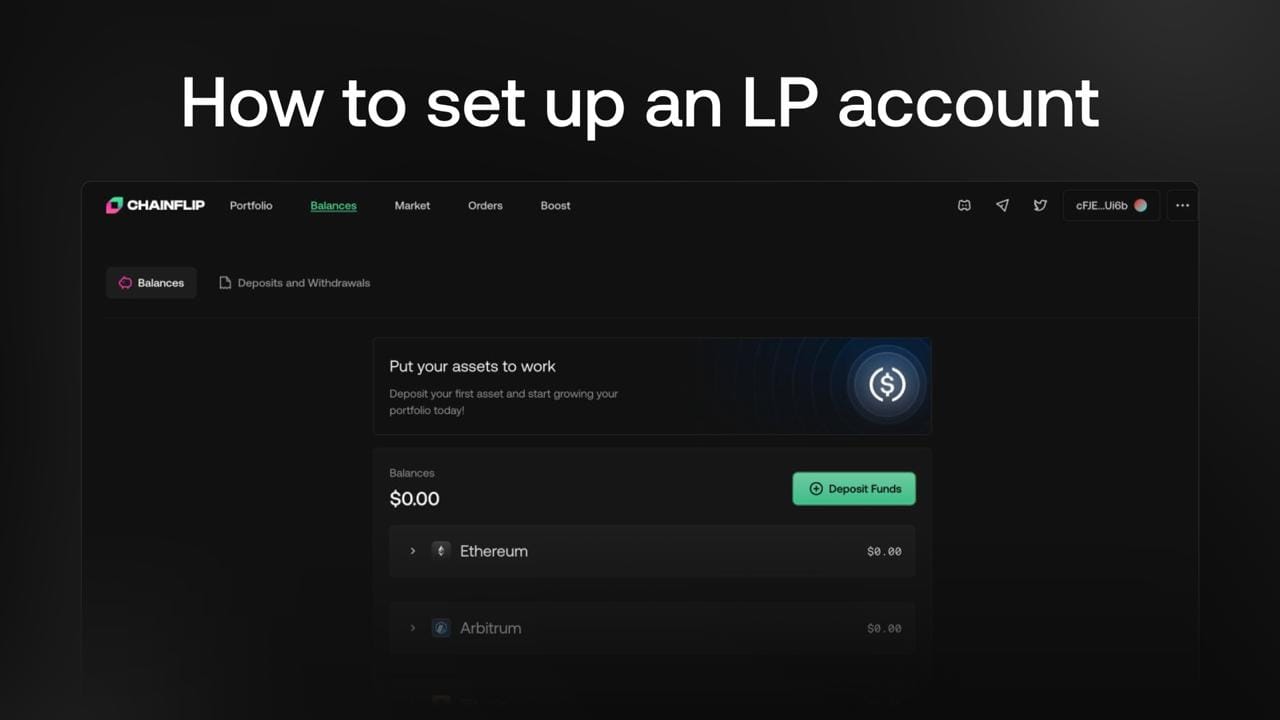
How to set up an LP Account on Chainflip

Getting started as a liquidity provider on Chainflip is easy, but if it’s your first time using the platform, there are a few important steps to walk through.
In this guide, we’ll take you through everything you need to know to create a Chainflip LP account. Once you’re set up, you’ll be able to:
- Provide liquidity through limit and range orders
- Earn passive yield on your native Bitcoin with Boost
- And soon, access new stablecoin strategies for even more yield opportunities
Let’s dive into how to get started.
Step 1: Go to the Chainflip LP App
To begin, head over to the Chainflip LP portal:
This is the dashboard where all liquidity provision happens on Chainflip. Once your account is set up, this is where you’ll deposit assets, monitor your positions, and manage your yield strategies.
Before you can do anything, you’ll need to connect two wallets, and here’s where things get a little different from the usual dApp flow.
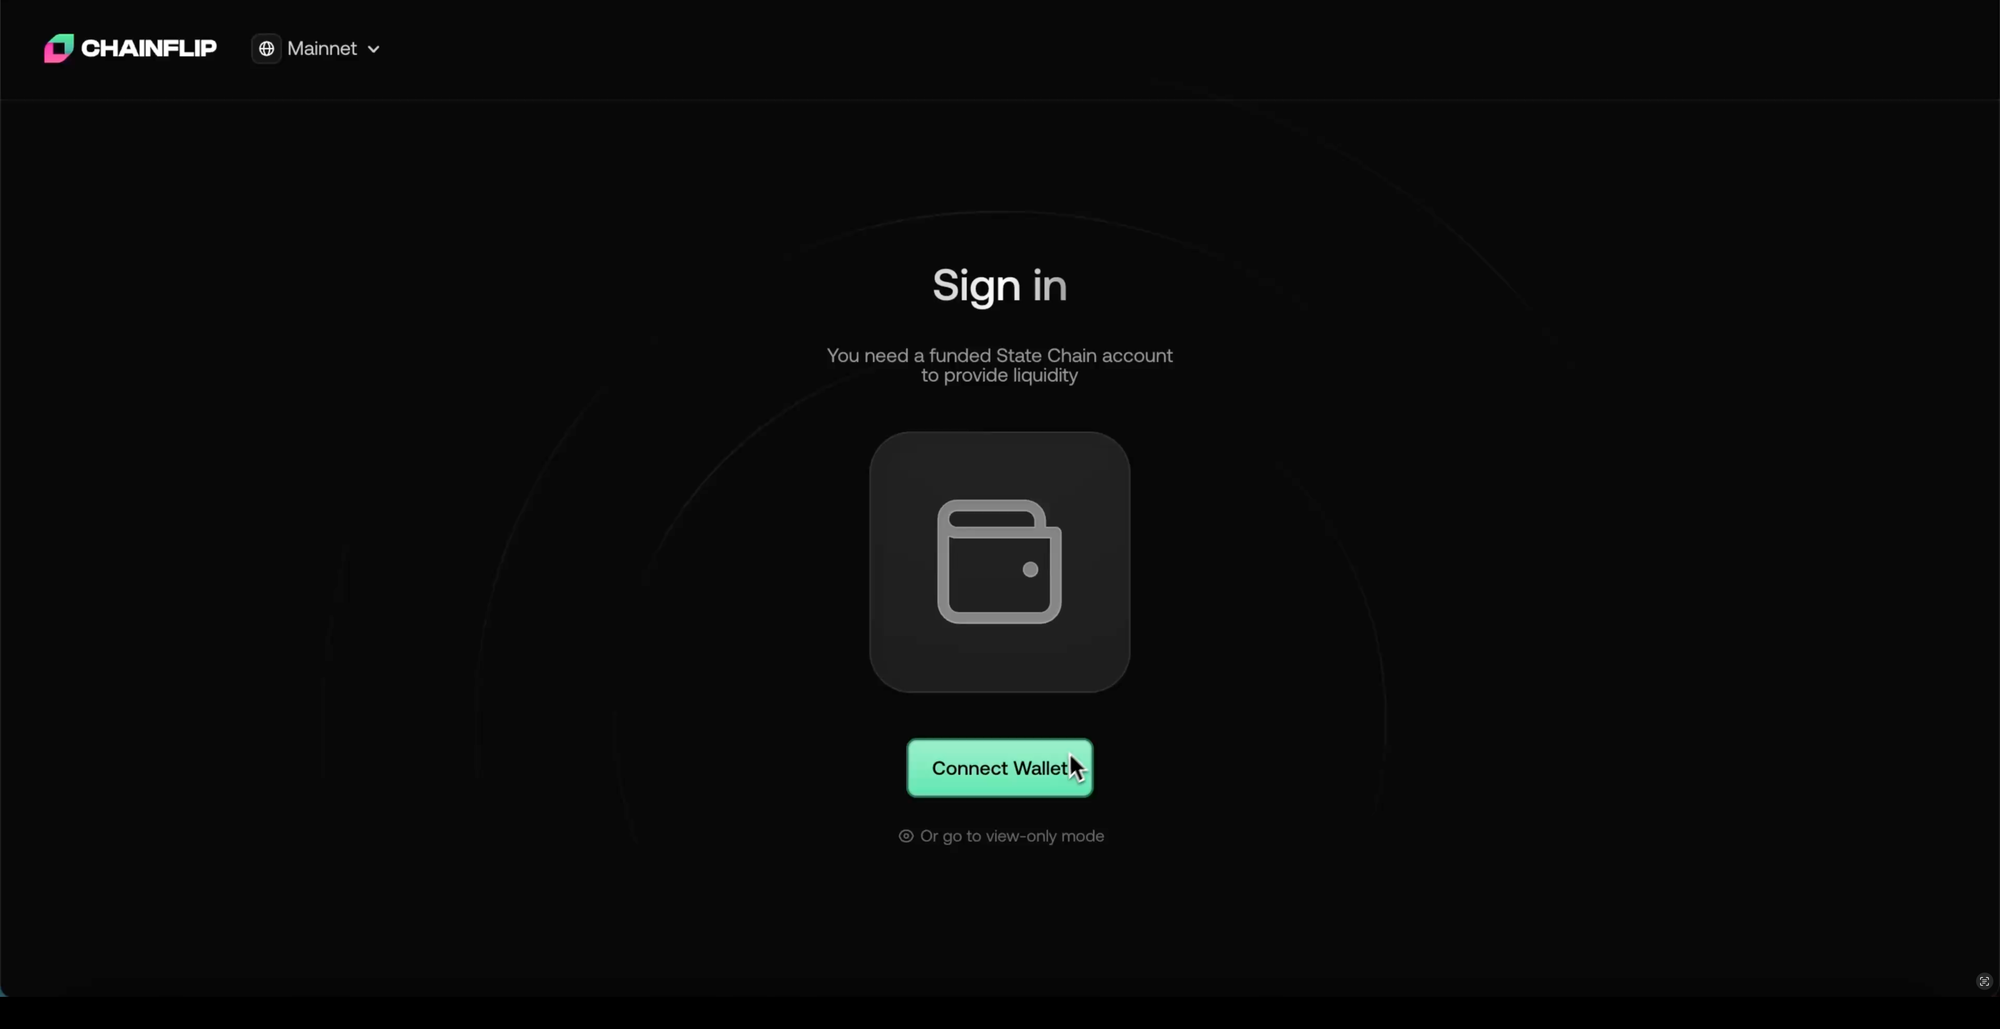
Step 2: Connect Both Ethereum and Polkadot Wallets
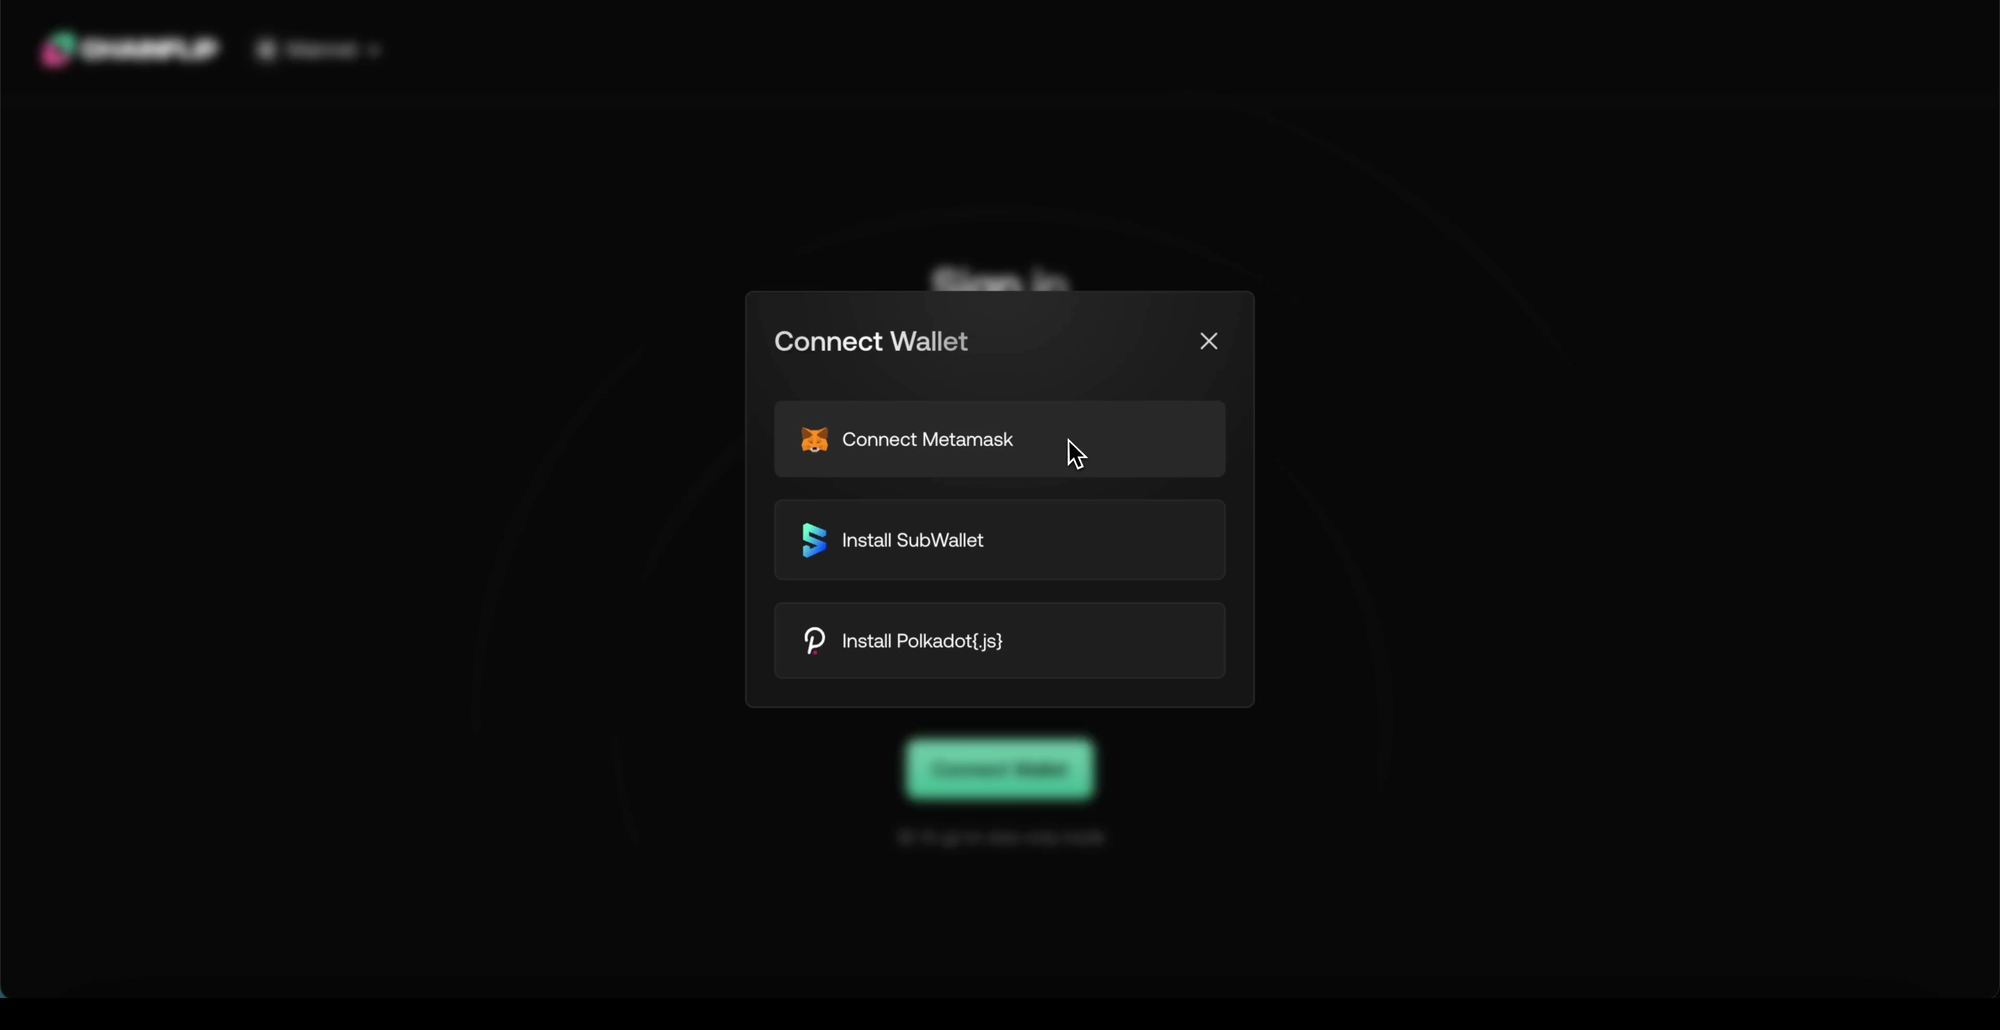
Chainflip runs on its own Substrate-based blockchain, known as the Chainflip State Chain. Because of that, you’ll need to connect:
- An Ethereum wallet (like MetaMask): to send FLIP to the state chain for gas fees,
- A Polkadot-compatible wallet (like SubWallet or Polkadot.js): to sign transactions on the Chainflip chain.
Why both?
The Ethereum wallet is for depositing FLIP for network fees into the state chain account (Chainflip's native gas token). The Polkadot wallet is only used to sign on-chain transactions: things like depositing, withdrawing, or executing swaps. It doesn’t hold any funds, so you won’t need to transfer anything into it.
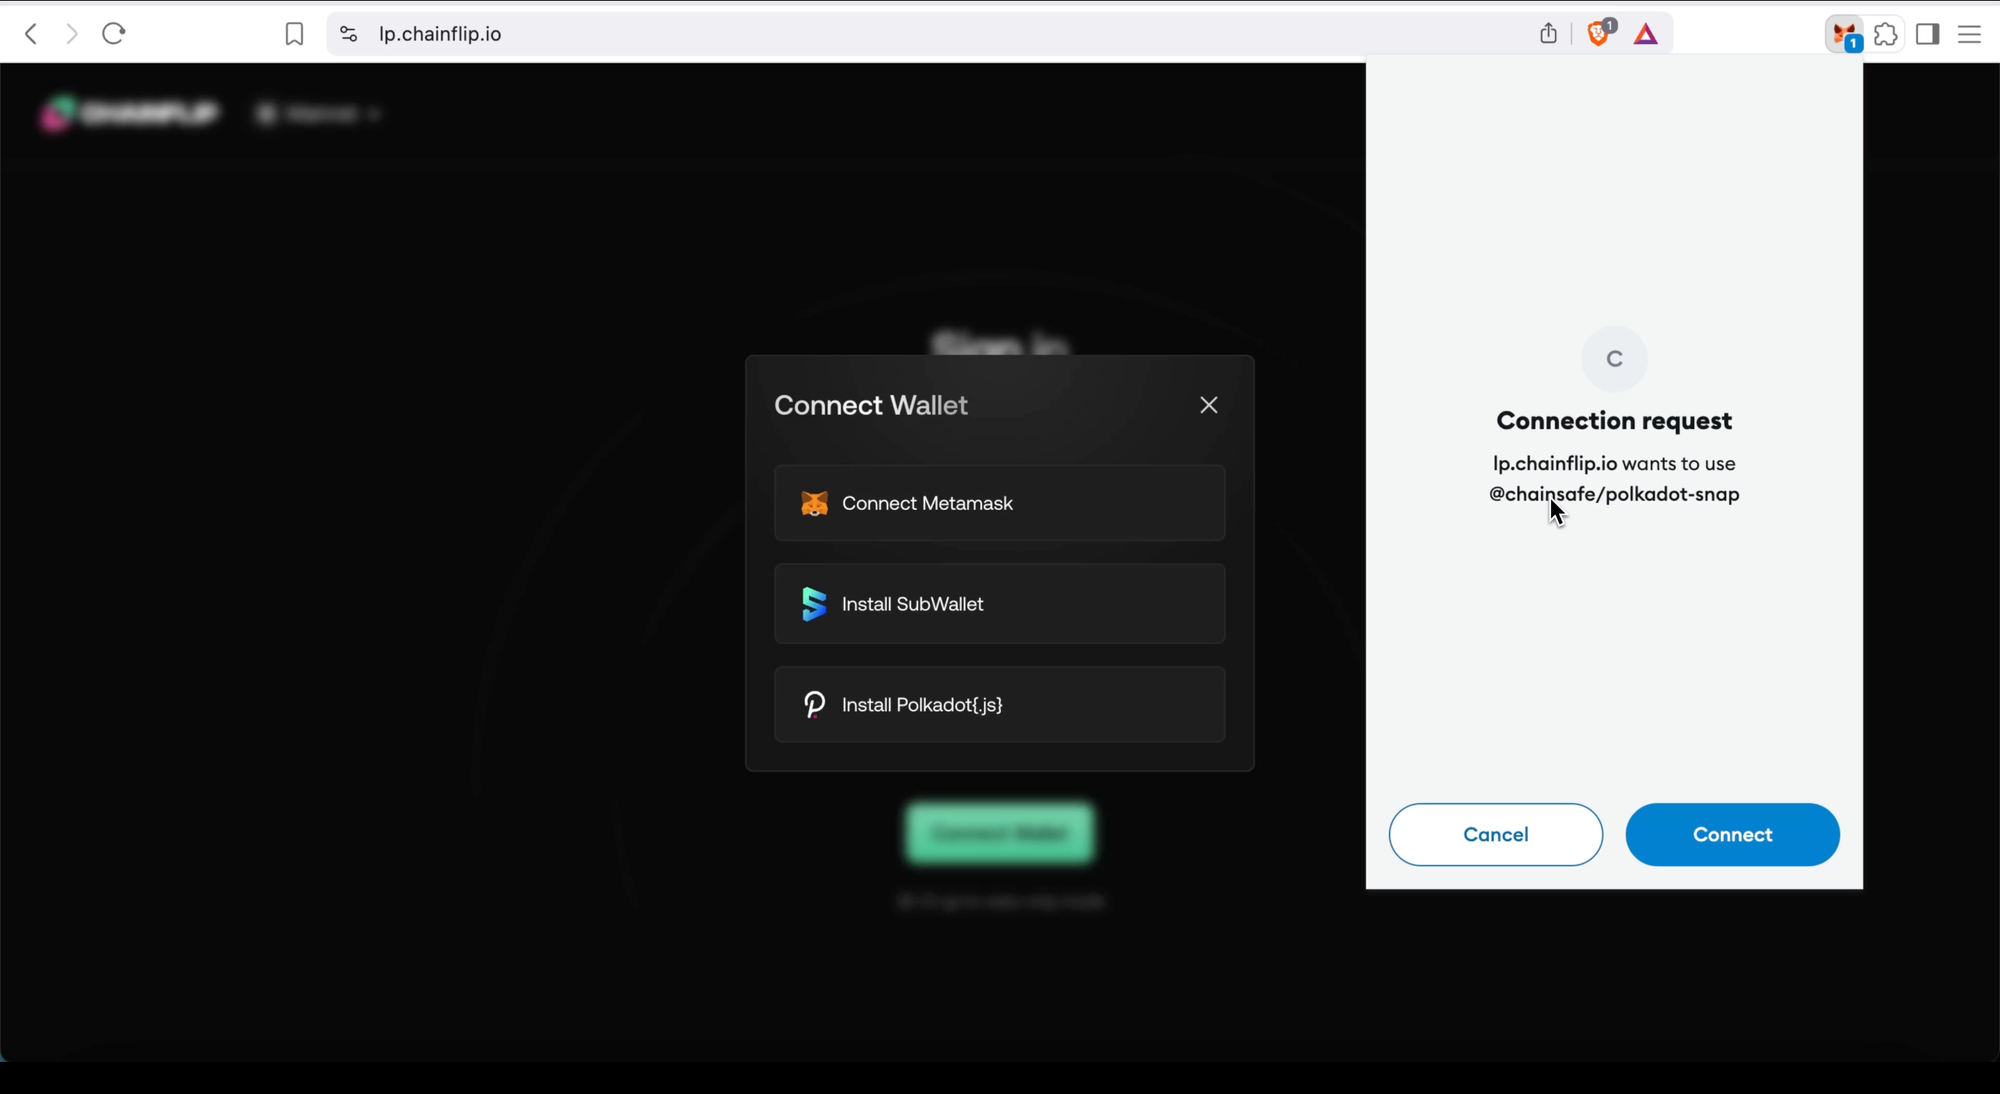
To make this process easier, Chainflip supports MetaMask Snaps, which lets you handle both wallets in one interface. If you’re already using MetaMask, this is the fastest and smoothest setup.
🛠️ Want to use separate wallets instead? You can also connect SubWallet or Polkadot.js manually if you prefer.
Once both wallets are connected, your account will be created, but not yet activated. There’s one more step.
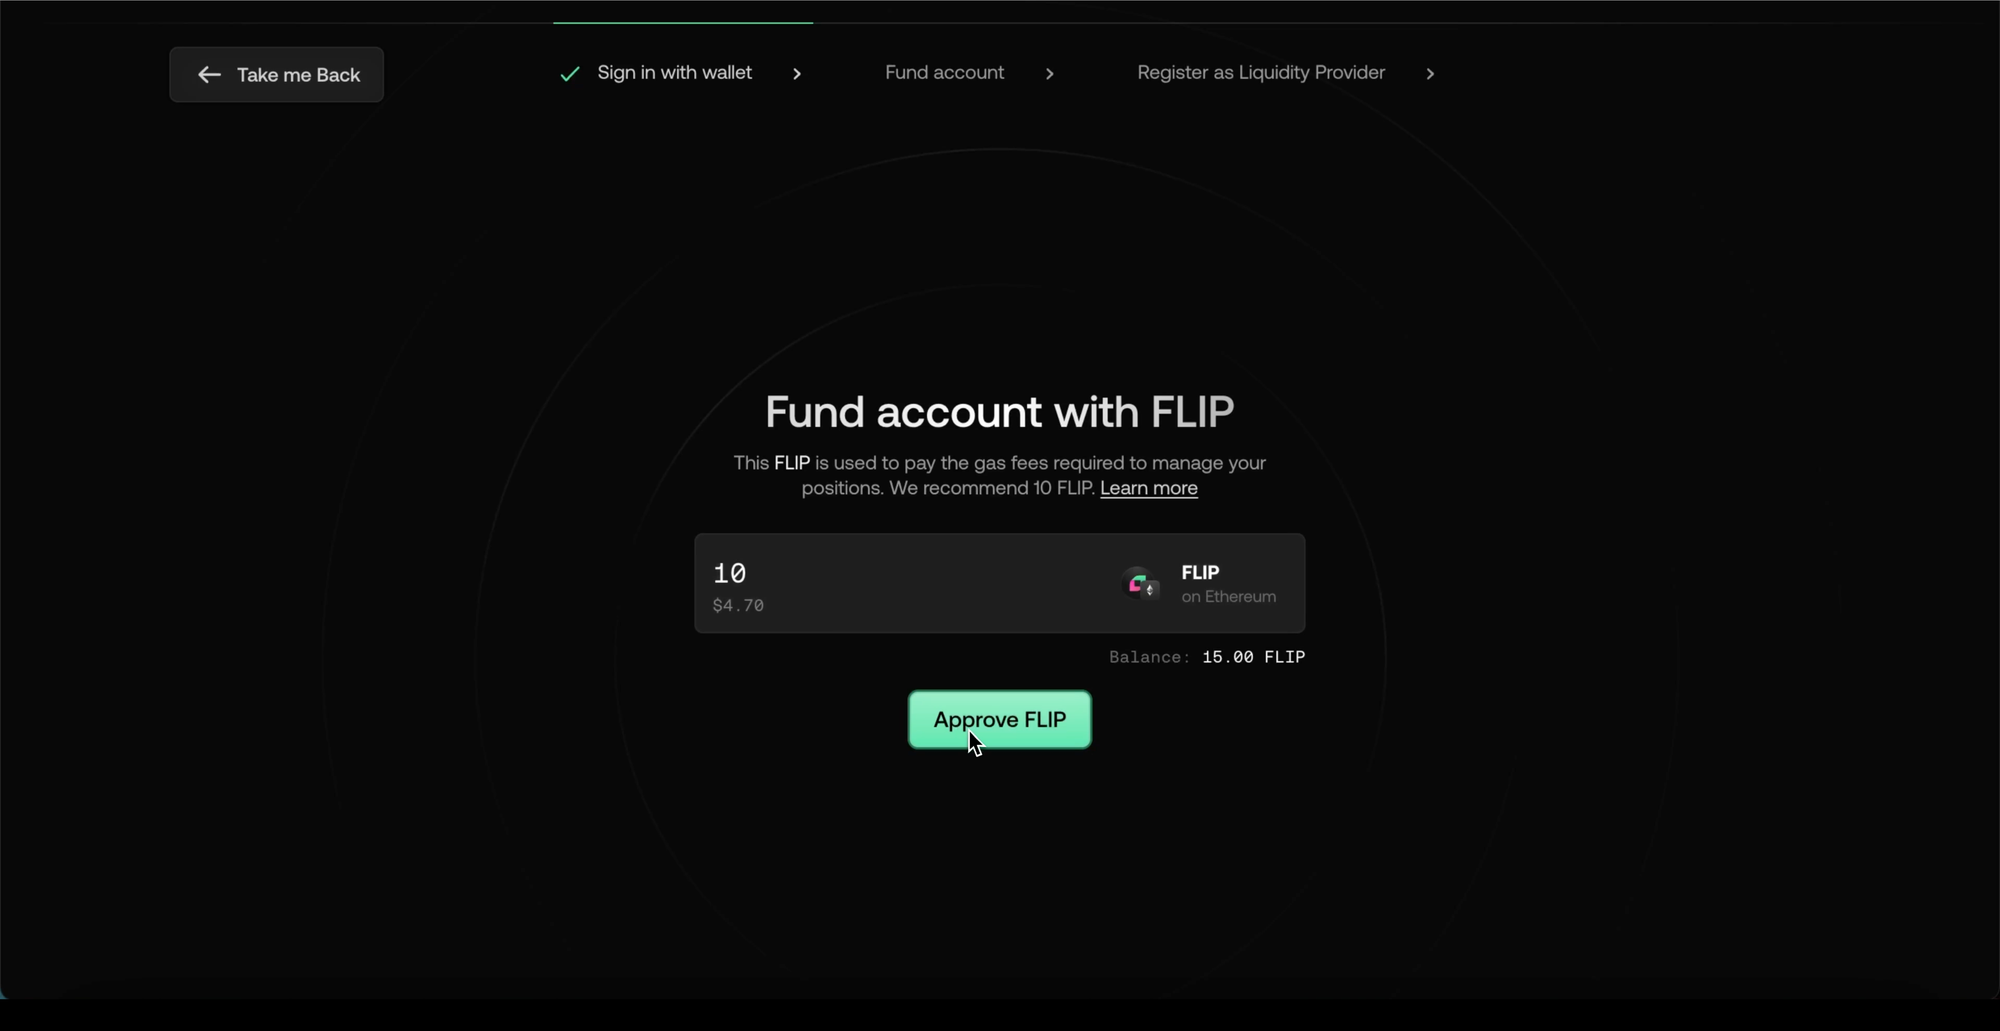
Step 3: Activate Your LP Account by Sending FLIP Tokens
The last step is to fund your LP account with a small amount of FLIP tokens.
FLIP is the token used to pay gas fees on the Chainflip State Chain. Every action you take, whether it’s depositing BTC, placing an order, or withdrawing USDC, requires a small FLIP fee.
Think of it like gas on Ethereum, but native to Chainflip.
The good news? You don’t need much. Even 1–2 FLIP is enough to get started.
Here’s how to do it:
- Use your connected Ethereum wallet to send FLIP to your state chain account,
- Wait a moment for the transaction to confirm.
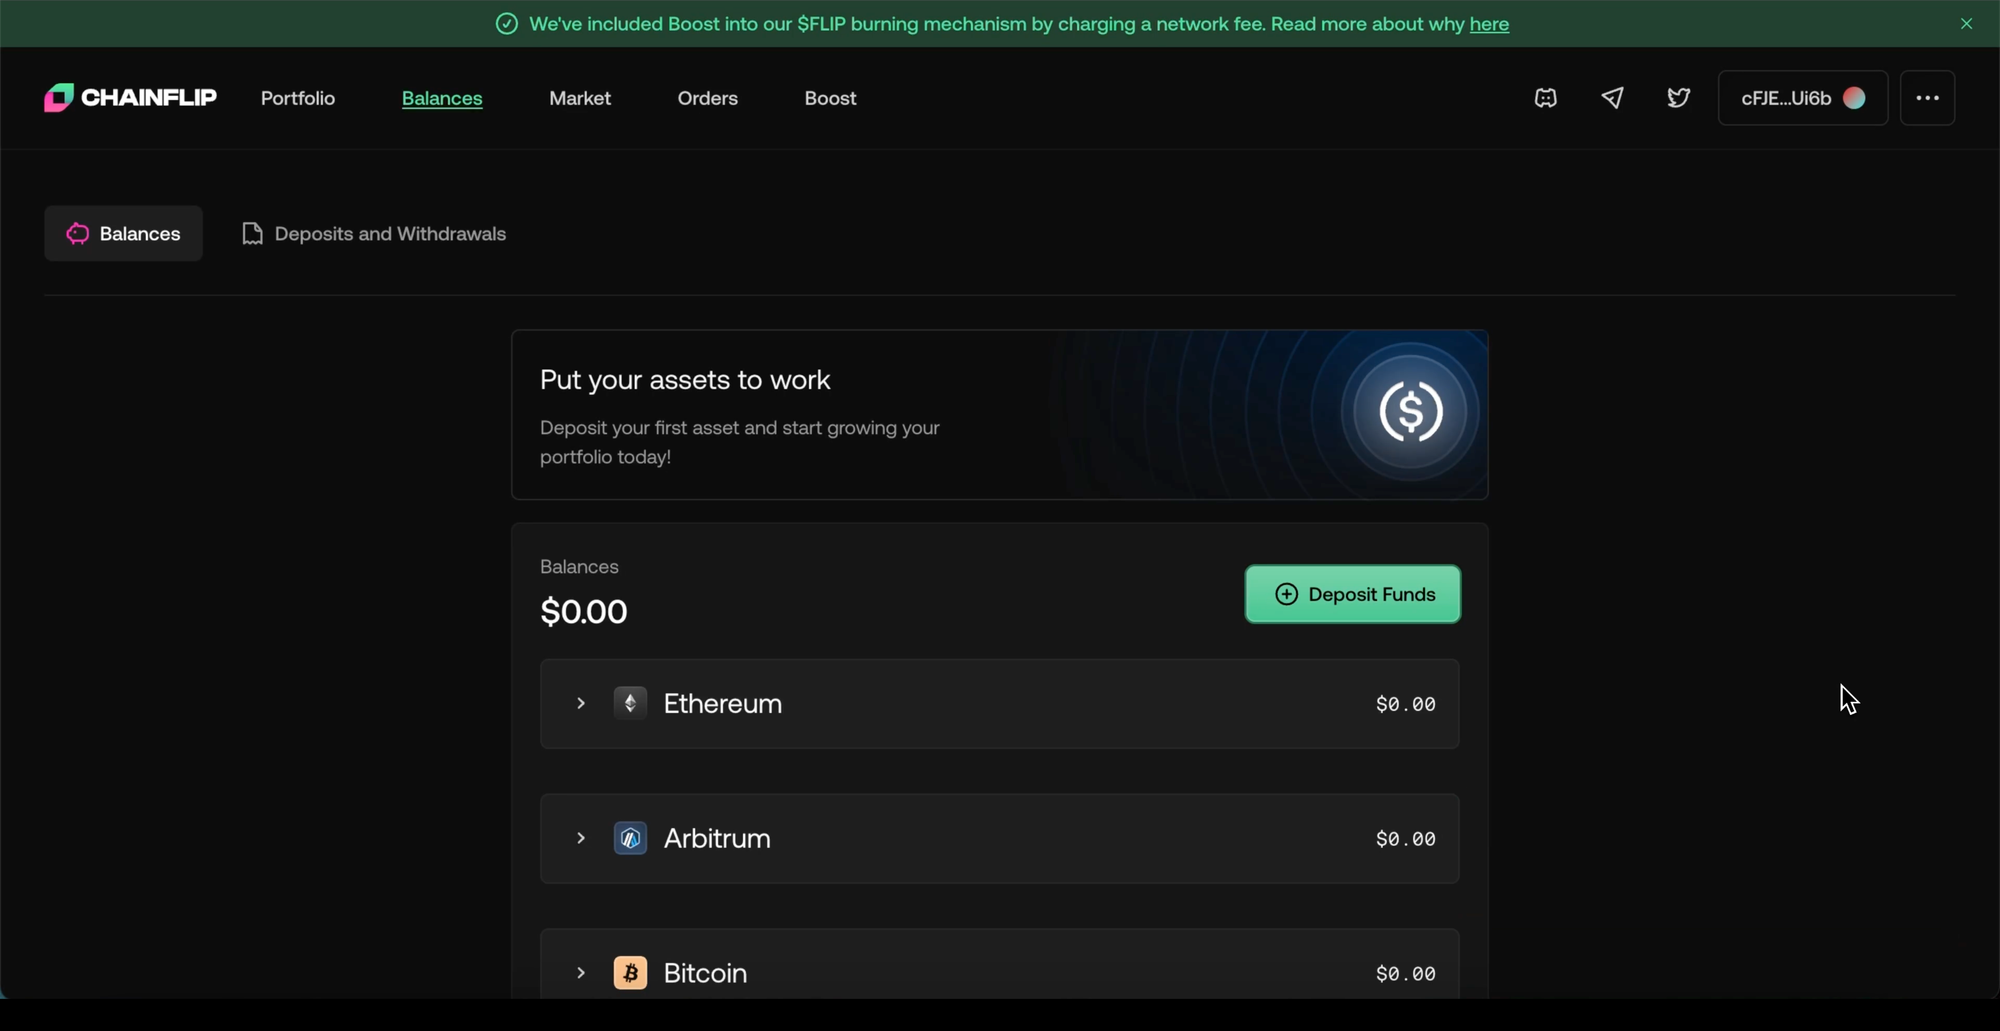
Once the FLIP arrives, your account will automatically register and become fully active. You’ll now have full access to the LP portal.
What Happens Next?
With your account active, you can now explore Chainflip’s full LP feature set:
- Deposit and withdraw native assets like BTC, ETH, SOL, and USDC
- Provide liquidity through limit and range orders
- Earn passive Bitcoin yield by joining Boost pools
- And soon, allocate into automated stablecoin strategies for even more opportunities
Ready to Dive Deeper?
Now that your LP account is live, you might want to check out our next tutorials:
- Boost Bitcoin with Chainflip: High-Yield Opportunities for Liquidity Providers
- Chainflip Liquidity Provision: Strategies and Risks
If you’re stuck or want to learn more, visit our Docs or jump into the community Telegram or Discord.
If you would like a more in depth walkthrough, please see the video below:
Welcome to the Chainflip LP network, you’re now part of the infrastructure powering native cross-chain swaps!